Generate business application
Create Scaffold
The fastest and recommended way to quickly generate your business application is by using the jBPM online service: start.jbpm.org
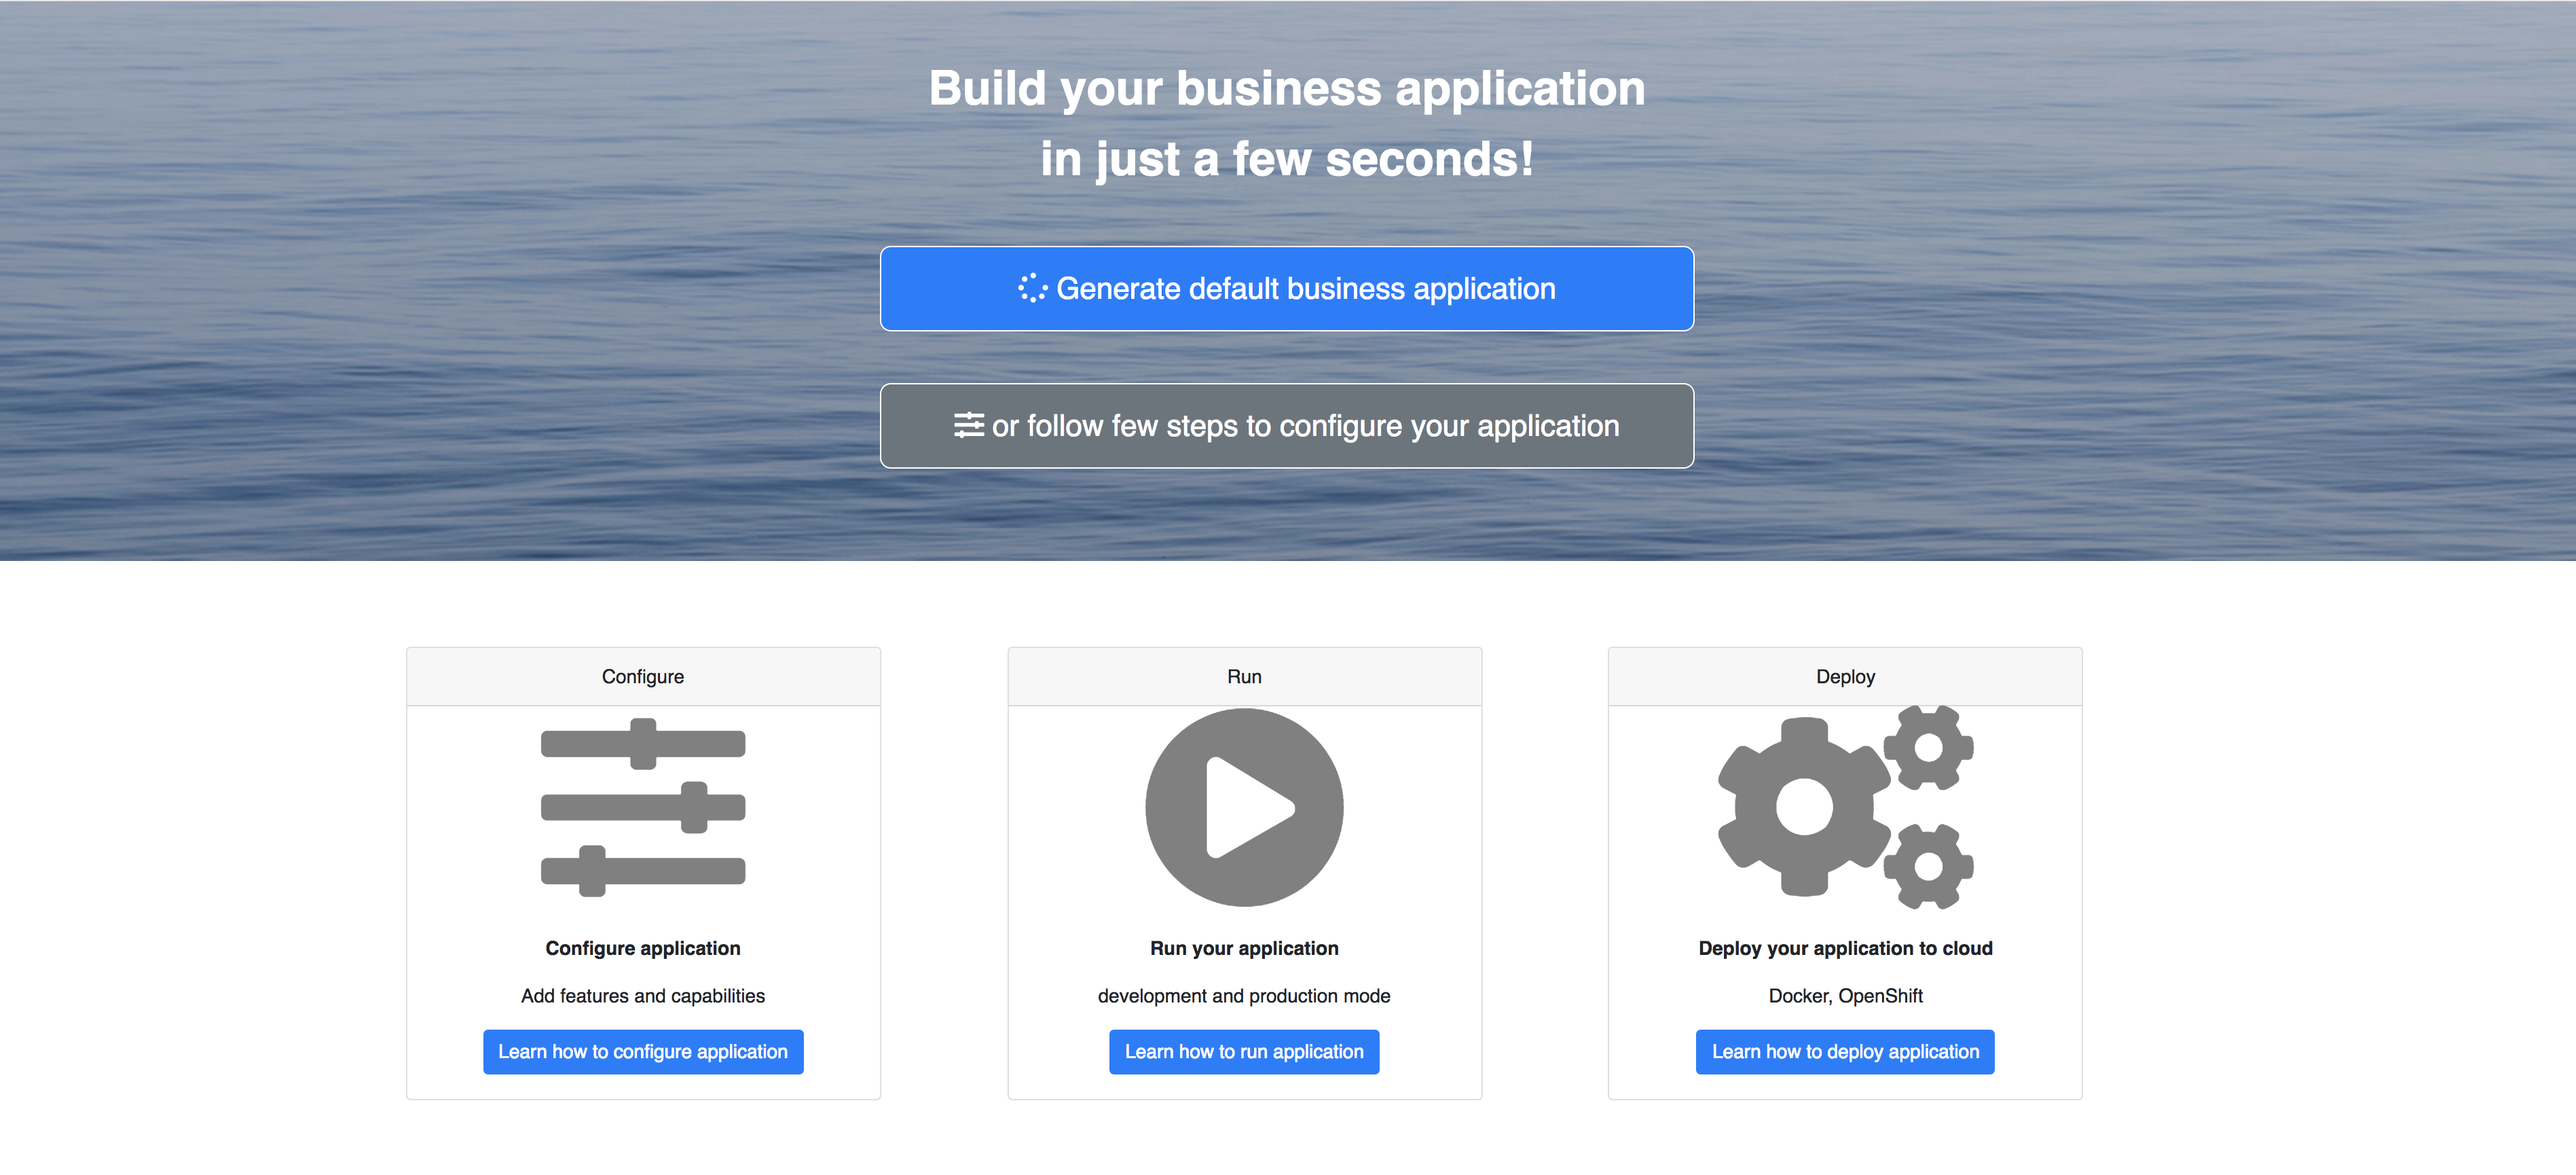 With the online service you can:
generate your business app using a default (most commonly used) configuration
configure your business application to include specific features that you need
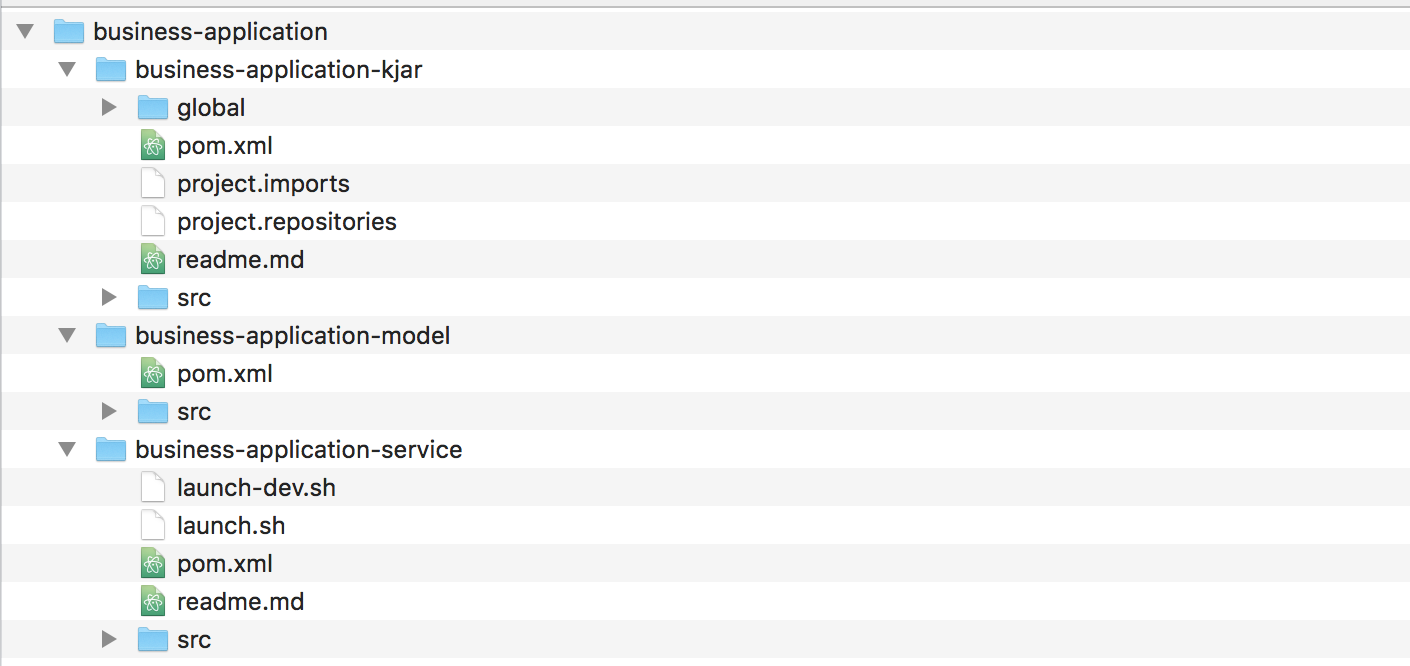
The generated application will be delivered as a zip archive will following structure:
Capabilities
Capabilities essentially define the features that your business application will be equipped with. Available options are:
Business automation covers features for process management, case management, decision management and optimisation. These will be by default configured in the service project of your business application. Although you can turn them off via configuration.
Decision management covers mainly decision and rules related features (backed by Drools project)
Business optimisation covers planning problems and solutions related features (backed by OptaPlanner project)
Application information
General information about the application that is
name - the name that will be used for the projects generated
package - valid Java package name that will be created in the projects and used as group of maven projects
version - selected version of jBPM/KIE that should be used for service project
Project types
Selection of project types to be included in the business application
data model - basic maven/jar project to keep the data structures
business assets - kjar project that can be easily imported into workbench for development
service - service project that will include chosen capabilities with all bits configured
关于更详细的信息参考:https://docs.jboss.org/jbpm/release/7.14.0.Final/jbpm-docs/html_single/#_overview_2
Run
生成的项目为典型的springboot项目,在business-application-service下执行
mvn clean install
生成打包好的fat jar
执行
java -Dspring.profiles.active=dev -jar business-application-service.jar
2
启动spring boot程序
配置controller
在springboot的配置文件中,
kieserver.controllers=http://localhost:8080/jbpm-console/rest/controller
指定了controller的位置,使用jbmp-console和drools-web应该都可以。
如果controller的地址配置正确,那么会在workbench中看到注册到的server
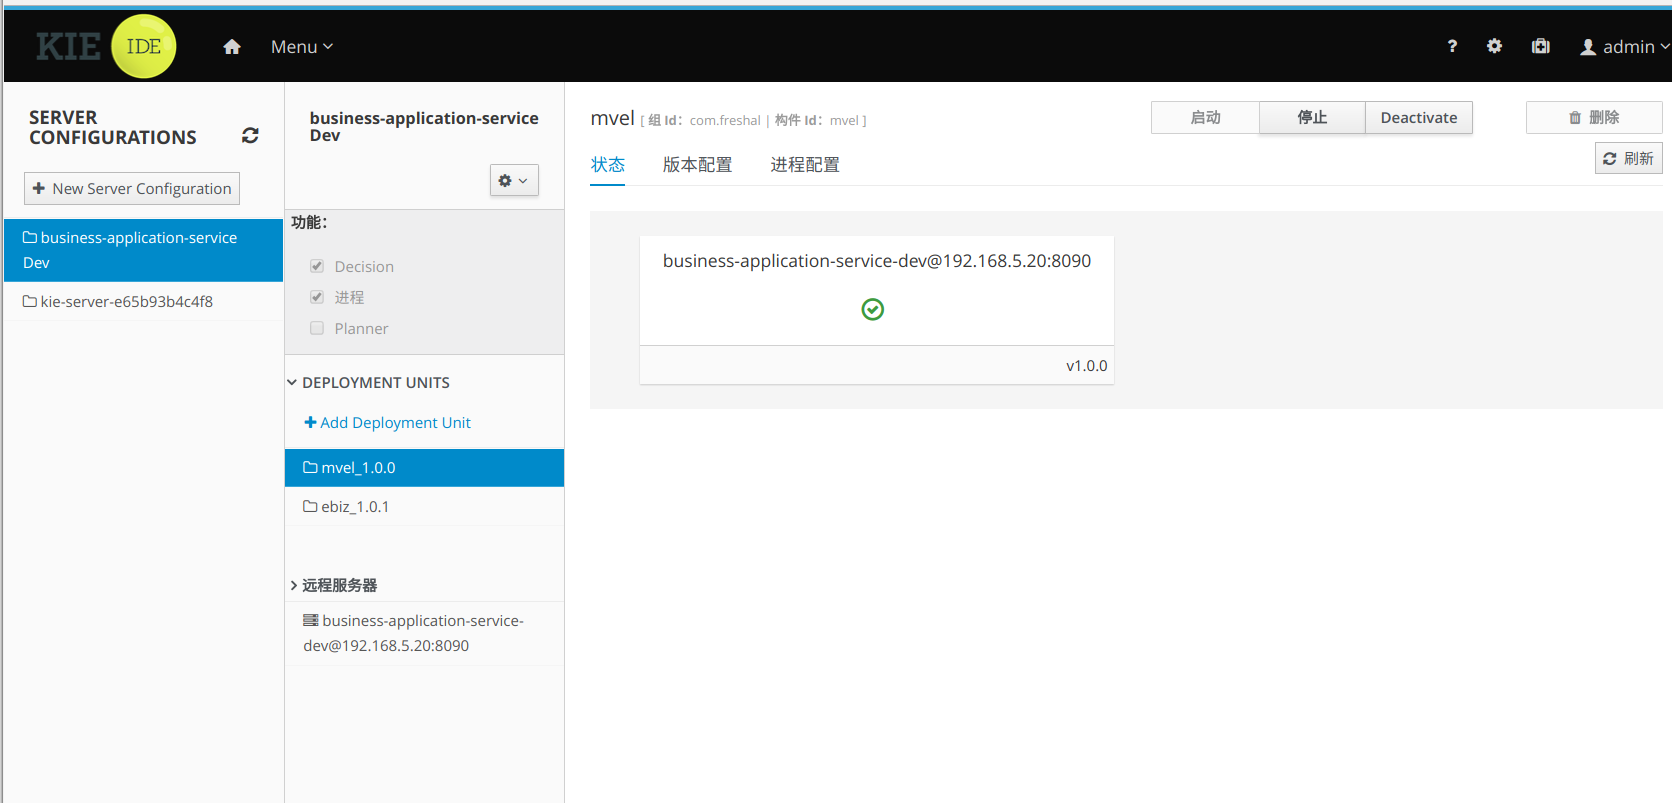
可能会遇到kie-server无法连接workbench,kie-server默认使用kieserver/kieserver1!连接workbench,在workbench中建立这样一个账户就好了。
部署kjar
kjar是jboss brms对jar的一种扩展. In very few words, a KJAR is a standard JAR file that has some extra files included. A KJAR keeps the same .jar extension as a JAR file, because its basic file structure is identical to that of a JAR. “A JAR file is essentially a zip file that contains an optional META-INF directory.” 1 By contrast, a KJAR (“Knowledge artifact”) is specifically targeted for rules and processes which tend to be notated in XML or plain text.
kjar是具备知识的jar,赋予了规则和流程的定义。可以理解为规则包,流程包。这个包可以通过jbpm-console或者drools-workbench动态部署到kieserver上。
如果使用jboss提供的docker容器,不需要特别的配置。但是如果是自定义的springboot程序,那么就需要做一些配置了。
首先需要设定M2_HOME环境变量,kieserver会在这个环境变量中找maven的settings.xml文件
其次需要在setting.xml中加入以下配置
kie-workbench提供了maven 仓库的功能,kieserver需要使用下面这段配置连接maven库,http://192.168.5.36:8080/drools-wb/maven2这个url就是maven库的url
<server>
      <id>kie-workbench</id>
      <username>admin</username>
      <password>admin</password>
      <configuration>
        <wagonProvider>httpclient</wagonProvider>
        <httpConfiguration>
          <all>
            <usePreemptive>true</usePreemptive>
          </all>
        </httpConfiguration>
      </configuration>
    </server>


  <profiles>
    <profile>
      <id>kie</id>
      <properties>
      </properties>
      <repositories>
        <repository>
          <id>jboss-public-repository-group</id>
          <name>JBoss Public Maven Repository Group</name>
          <url>https://repository.jboss.org/nexus/content/groups/public-jboss/</url>
          <layout>default</layout>
          <releases>
            <enabled>true</enabled>
            <updatePolicy>never</updatePolicy>
          </releases>
          <snapshots>
            <enabled>true</enabled>
            <updatePolicy>always</updatePolicy>
          </snapshots>
        </repository>
        <repository>
          <id>kie-workbench</id>
          <name>JBoss BRMS Guvnor M2 Repository</name>
          <url>http://192.168.5.36:8080/drools-wb/maven2</url>
          <layout>default</layout>
          <releases>
            <enabled>true</enabled>
            <updatePolicy>always</updatePolicy>
          </releases>
          <snapshots>
            <enabled>true</enabled>
            <updatePolicy>always</updatePolicy>
          </snapshots>
        </repository>
      </repositories>
      <pluginRepositories>
        <pluginRepository>
          <id>jboss-public-repository-group</id>
          <name>JBoss Public Maven Repository Group</name>
          <url>https://repository.jboss.org/nexus/content/groups/public-jboss/</url>
          <layout>default</layout>
          <releases>
            <enabled>true</enabled>
            <updatePolicy>never</updatePolicy>
          </releases>
          <snapshots>
            <enabled>true</enabled>
            <updatePolicy>never</updatePolicy>
          </snapshots>
        </pluginRepository>
      </pluginRepositories>
    </profile>
  </profiles>

  <activeProfiles>
    <activeProfile>kie</activeProfile>
  </activeProfiles>
2
3
4
5
6
7
8
9
10
11
12
13
14
15
16
17
18
19
20
21
22
23
24
25
26
27
28
29
30
31
32
33
34
35
36
37
38
39
40
41
42
43
44
45
46
47
48
49
50
51
52
53
54
55
56
57
58
59
60
61
62
63
64
65
66
67
68
69
70
71
72
上述配置完成后,重新启动kie-server,然后可以通过workbench部署规则或者流程了。